Running the Python script from ArcGIS
Now that we have the interface and script ready for our tool, we can start using them from ArcGIS.
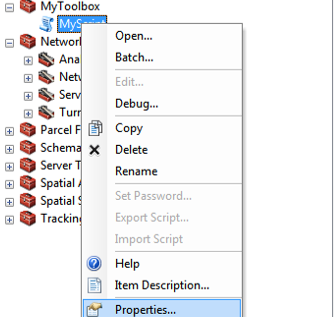
Before we can run the tool, we need to specify which Python script will be run when the tool is executed. This can be done from the Properties of your Script tool under a Source -tab. Add the
PolyToRaster.py -file that we just created as the source file for this tool.

That’s it! Now you can test your tool by running it from ArcGIS!
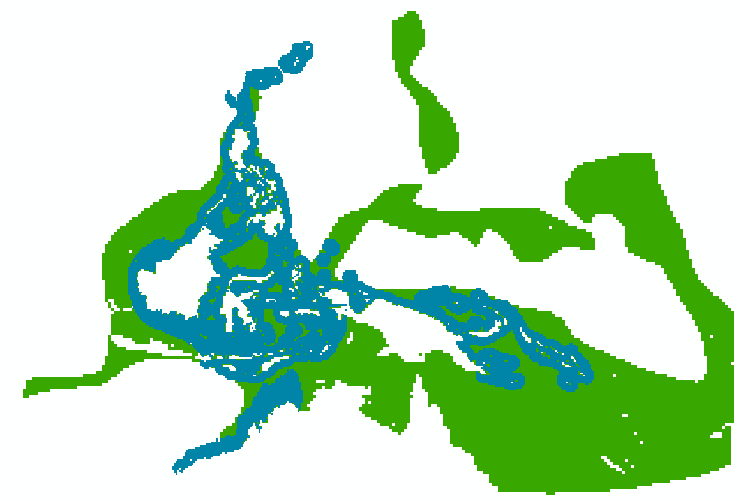
After running your tool, you should get rasters such as following from the tool:
How to proceed from here?
Okey, now you have seen a little bit how arcpy can be used to automatize a specific GIS process flow. Of course, our tutorial only covered a tiny fraction of all different functionalities that ArcGIS has to offer but the basic logic is more or less similar with different tools (except raster processing and map algebra –> see quick tour). Thus, you can use similar programming approach for many other tools as well that ArcGIS provides.
I am interested in using arcpy in my work..How can I find information how to use those tools?
Basically how you can proceed from here is to read the documentation of arcpy to find out how your typical analysis steps and tools in ArcGIS can be called from Python using arcpy -module. One good way to find documentation about the tool that you are searching is to use e.g. Google or use the search functionality in ArcGIS documentation pages.
Hint
If you know how to use Model Builder, it is possible to export your model to a Python script. In that way, you can at least see how those tools that you use in your model can be called from Python using arcpy module.
Todo
Add example of raster processing and map algebra with arcpy.